
How to OCR a Screenshot on Mac (6 Free & Easy Methods in 2026)
Need to copy text out of a screenshot on your Mac? You're not alone. Whether it's a receipt, a code snippet, a slide from a meeting, or a meme — manually retyping is slow and error-prone. OCR (Optical Character Recognition) lets you grab that text instantly.
Here's the good news: you don't always need a third-party app. macOS has built-in OCR that works for many cases. But when you need more — offline OCR, batch processing, or clipboard integration — tools like Timo take it to the next level.
Let's walk through all 6 methods, from built-in to pro.
Method 1: macOS Live Text (Built-in, No App Needed)
Apple introduced Live Text in macOS Monterey (2021). It's the easiest way to OCR text from images — no extra software required.
How to use it
- Open any screenshot or image in Preview or Photos.
- Hover your cursor over the text. It becomes selectable.
- Click and drag to select text, then right-click to Copy.
- Paste anywhere (Cmd+V).
When it works
Clean, printed text in English or supported languages. Good lighting, no heavy rotation.
When it doesn't
Handwritten text, tilted images, or screenshots with complex backgrounds. And there's no keyboard shortcut — you have to open the image manually each time.
Timo tip: If you're taking multiple screenshots and want OCR on every one automatically, skip to Method 6.
Method 2: Preview's Built-in OCR (Quick & Free)
Many Mac users don't know that Preview can also extract text from scanned PDFs and images.
Steps
- Open the screenshot in Preview.
- Go to
File > Export...and choose PDF as format. - Open the exported PDF, select text, and copy.
This works because Preview internally runs OCR on PDFs. It's a hack, but it works.
Limitation: Two-step process. Not ideal for frequent use.
Method 3: Shortcuts App (Automate Built-in OCR)
If you want a keyboard shortcut for OCR without installing anything, use the built-in Shortcuts app.
How to set it up
- Open Shortcuts app on your Mac.
- Create a new shortcut.
- Add action: "Take Screenshot" (or use existing screenshot).
- Add action: "Extract Text from Image".
- Add action: "Copy to Clipboard".
- Assign a keyboard shortcut in Shortcuts settings.
Now you press your shortcut → take a screenshot → text is immediately copied to your clipboard.
This is the closest you can get to a free OCR screenshot shortcut on Mac without any third-party tool.
Method 4: Text Sniper (App Store, Paid)
Text Sniper is a popular Mac app that does one thing: OCR anything on screen with a hotkey.
How it works
- Press a keyboard shortcut (default: Shift+Cmd+2).
- Select a region on screen.
- Text is instantly copied to clipboard.
Pros: Simple, fast, works well for clean text.
Cons: $14.99 one-time purchase. No clipboard history. No batch OCR.
Method 5: CleanShot X (Screenshot + OCR Combo)
CleanShot X is a full-featured screenshot tool for Mac. Its OCR feature is a side function, not the main selling point.
OCR workflow
- Press the screenshot shortcut.
- Click the OCR icon on the floating toolbar.
- Select the area with text.
- Text is copied.
Pros: Great screenshot tool overall.
Cons: $29/year subscription. OCR is a secondary feature. Overkill if you just need OCR.
Method 6: Timo — The All-in-One OCR + Clipboard Power Tool
Timo is a Mac productivity tool that combines clipboard manager, screenshot tool, OCR, app search, and more — all in one lightweight app. The screenshot OCR feature is available in the free version.
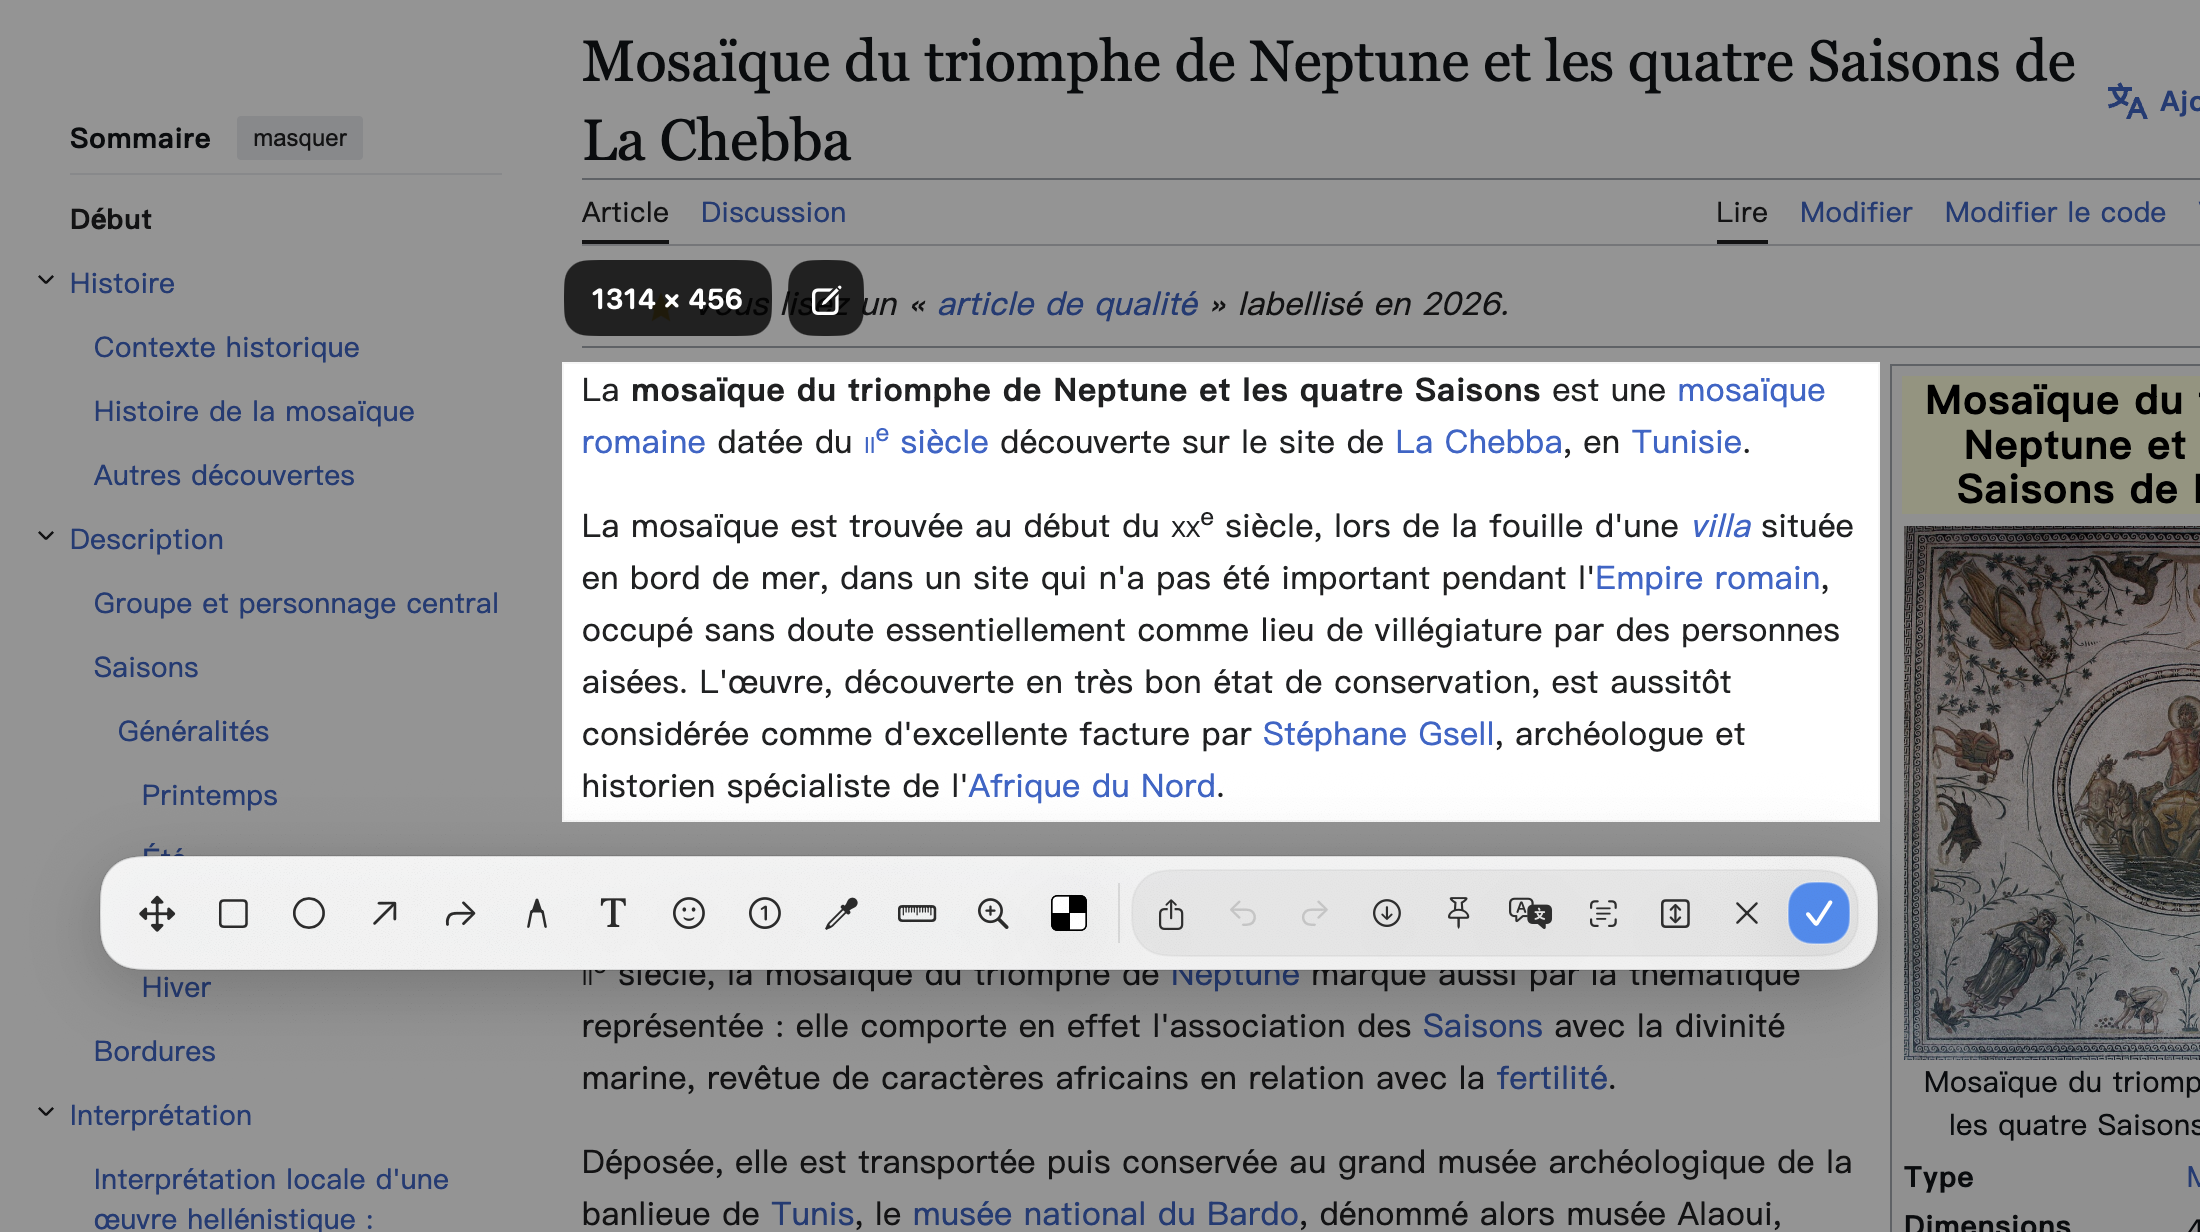
Step 1: Press [⎇ Alt] + [C] to enter screenshot mode, then select the area you want to translate.
Step 2: Click [Translate]. The translation will overlay the original text.
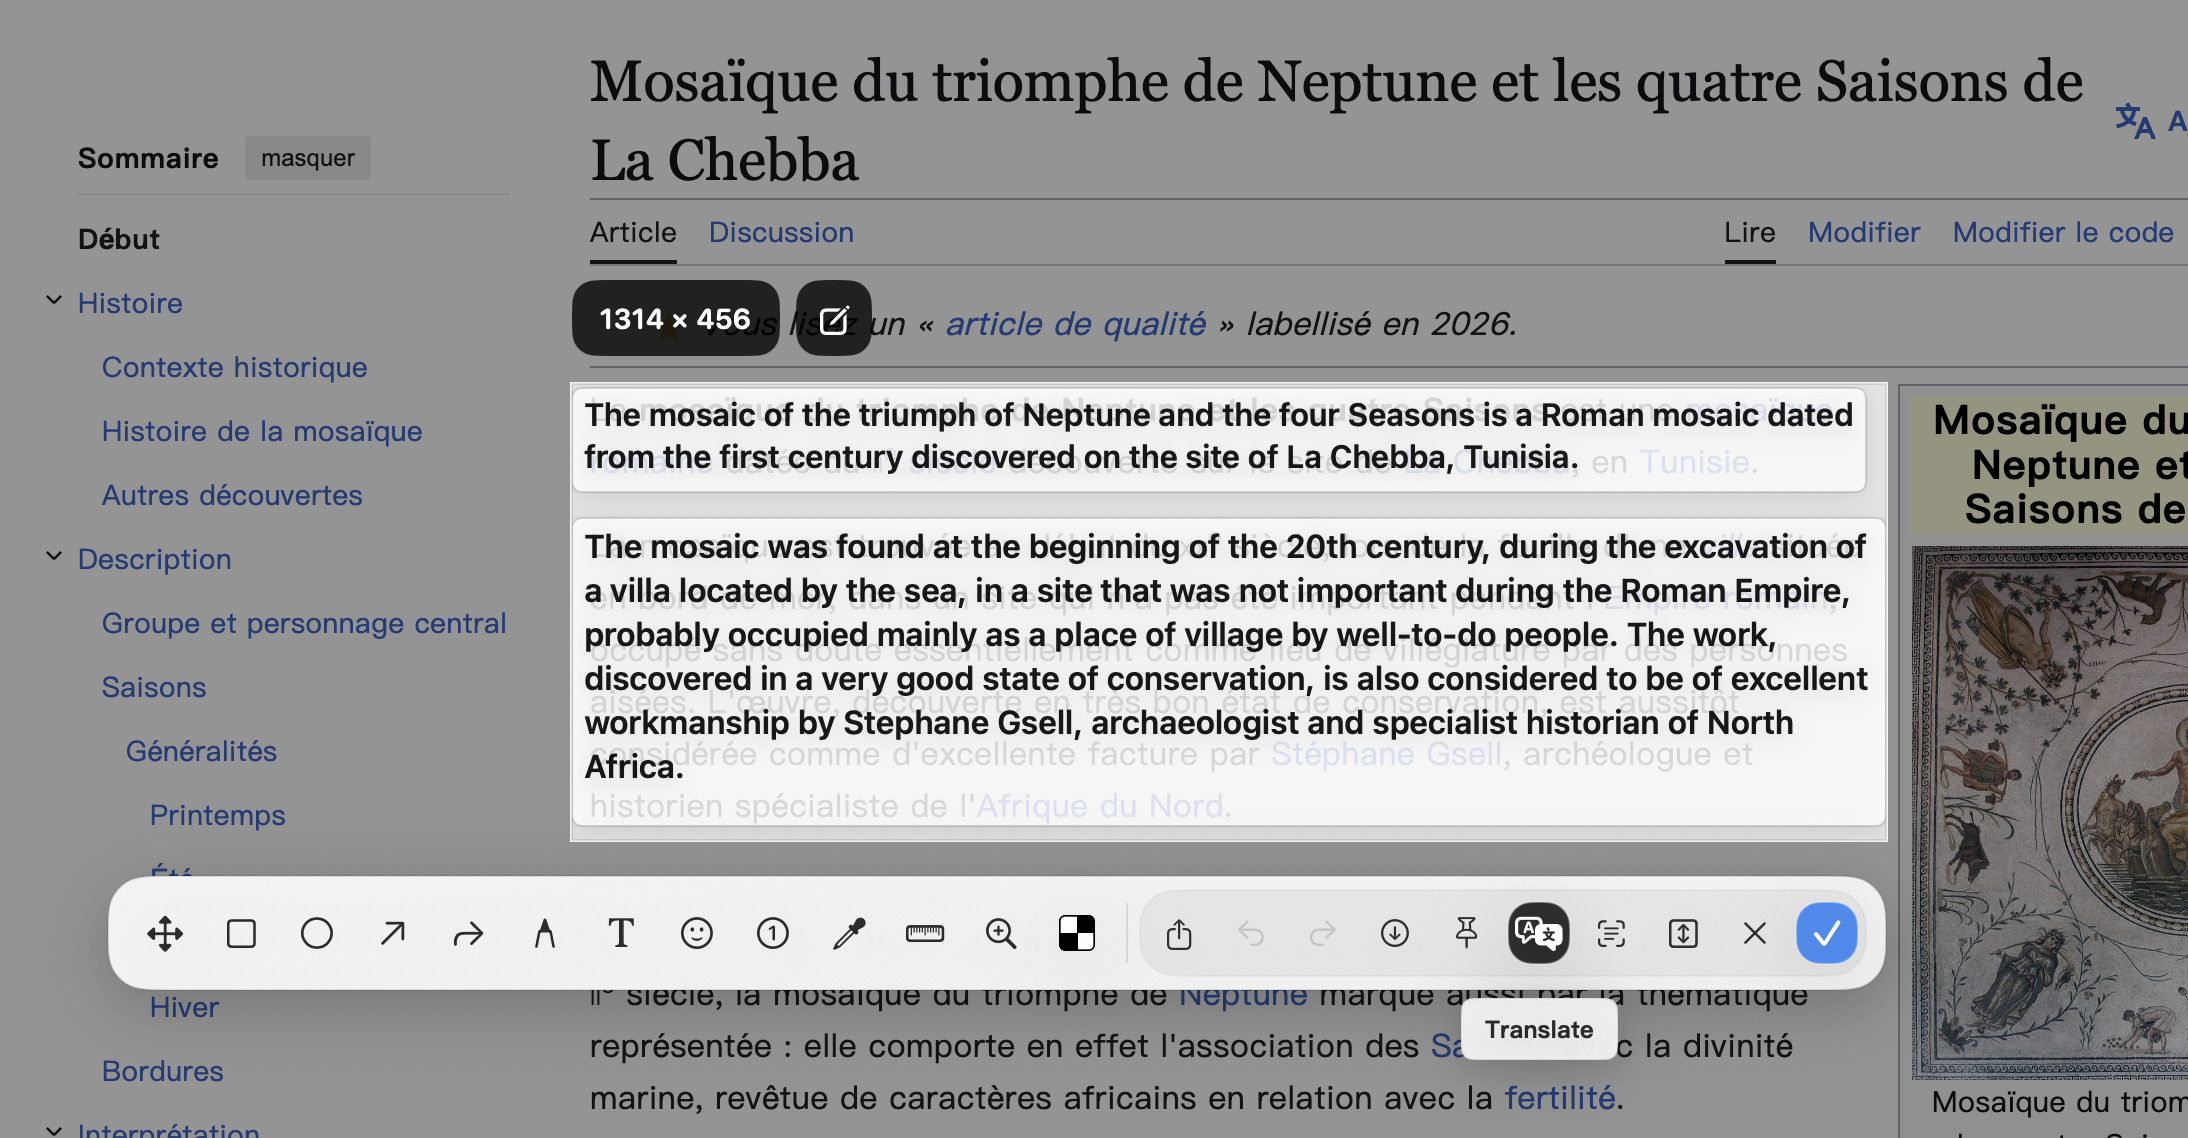
*The target translation language needs to be set in advance in Timo's [Preferences].
Why Timo is different for OCR
| Feature | Timo | Built-in | Text Sniper | CleanShot X |
|---|---|---|---|---|
| OCR shortcut | ✅ | ❌ (needs Shortcuts hack) | ✅ | ✅ |
| Offline / on-device OCR | ✅ | ✅ | ✅ | ✅ |
| Clipboard history | ✅ | ❌ | ❌ | ❌ |
| Searchable OCR history | ✅ | ❌ | ❌ | ❌ |
| Batch OCR | ✅ | ❌ | ❌ | ❌ |
| Screenshot tool | ✅ | ✅ (basic) | ❌ | ✅ |
| Free tier | ✅ | ✅ | ❌ (paid) | ❌ (paid) |
How to OCR a screenshot with Timo
- Take a screenshot using Timo's built-in screenshot tool (or any method).
- The screenshot appears in your clipboard history.
- Timo's on-device OCR automatically detects text in the image.
- Search for any text from that OCR result — even weeks later.
- Click to copy the text you need.
🔒 Privacy-first: Timo's OCR runs entirely on your Mac. No data is uploaded to any server. Your screenshots and text stay private.
🔍 Searchable forever: Because Timo stores your clipboard history, you can OCR a screenshot today and search for that text months later. No other tool on this list does that.
Pricing: Free tier available. Pro unlocks additional features. Download Timo to try it.
Which Method Should You Use?
| If you… | Use this method |
|---|---|
| Need OCR on a single image occasionally | Method 1: Live Text |
| Want a free OCR keyboard shortcut | Method 3: Shortcuts |
| Take screenshots often and need OCR | Method 6: Timo |
| Already own CleanShot X | Method 5 |
| Want the simplest paid solution | Method 4: Text Sniper |
FAQ
Can I OCR a screenshot on Mac for free?
Yes. macOS has built-in Live Text (Method 1) and you can set up a free shortcut via Shortcuts (Method 3). Timo also has a free tier.
Does Mac have built-in OCR?
Yes, macOS includes Live Text since Monterey, which can extract text from images opened in Preview or Photos. However, it doesn't have a dedicated shortcut.
Is there a keyboard shortcut for OCR on Mac?
Not built-in, but you can create one using the Shortcuts app (Method 3), or use Timo which has OCR bound to a customizable shortcut.
Which OCR tool is best for Mac?
If you want the most powerful combination — OCR + screenshot + clipboard history + search — Timo is the best choice. It's free to start and runs entirely offline.